MacOS
On Mac OS you can synchronize:
- Files
- Calendar
- Contacts
Files
You can map Group-Office as network drive using WebDAV. With Group-Office Assistant you’ll connect automatically when you click a file in Group-Office.
Click here to download Group-Office Assistant for MacOS.
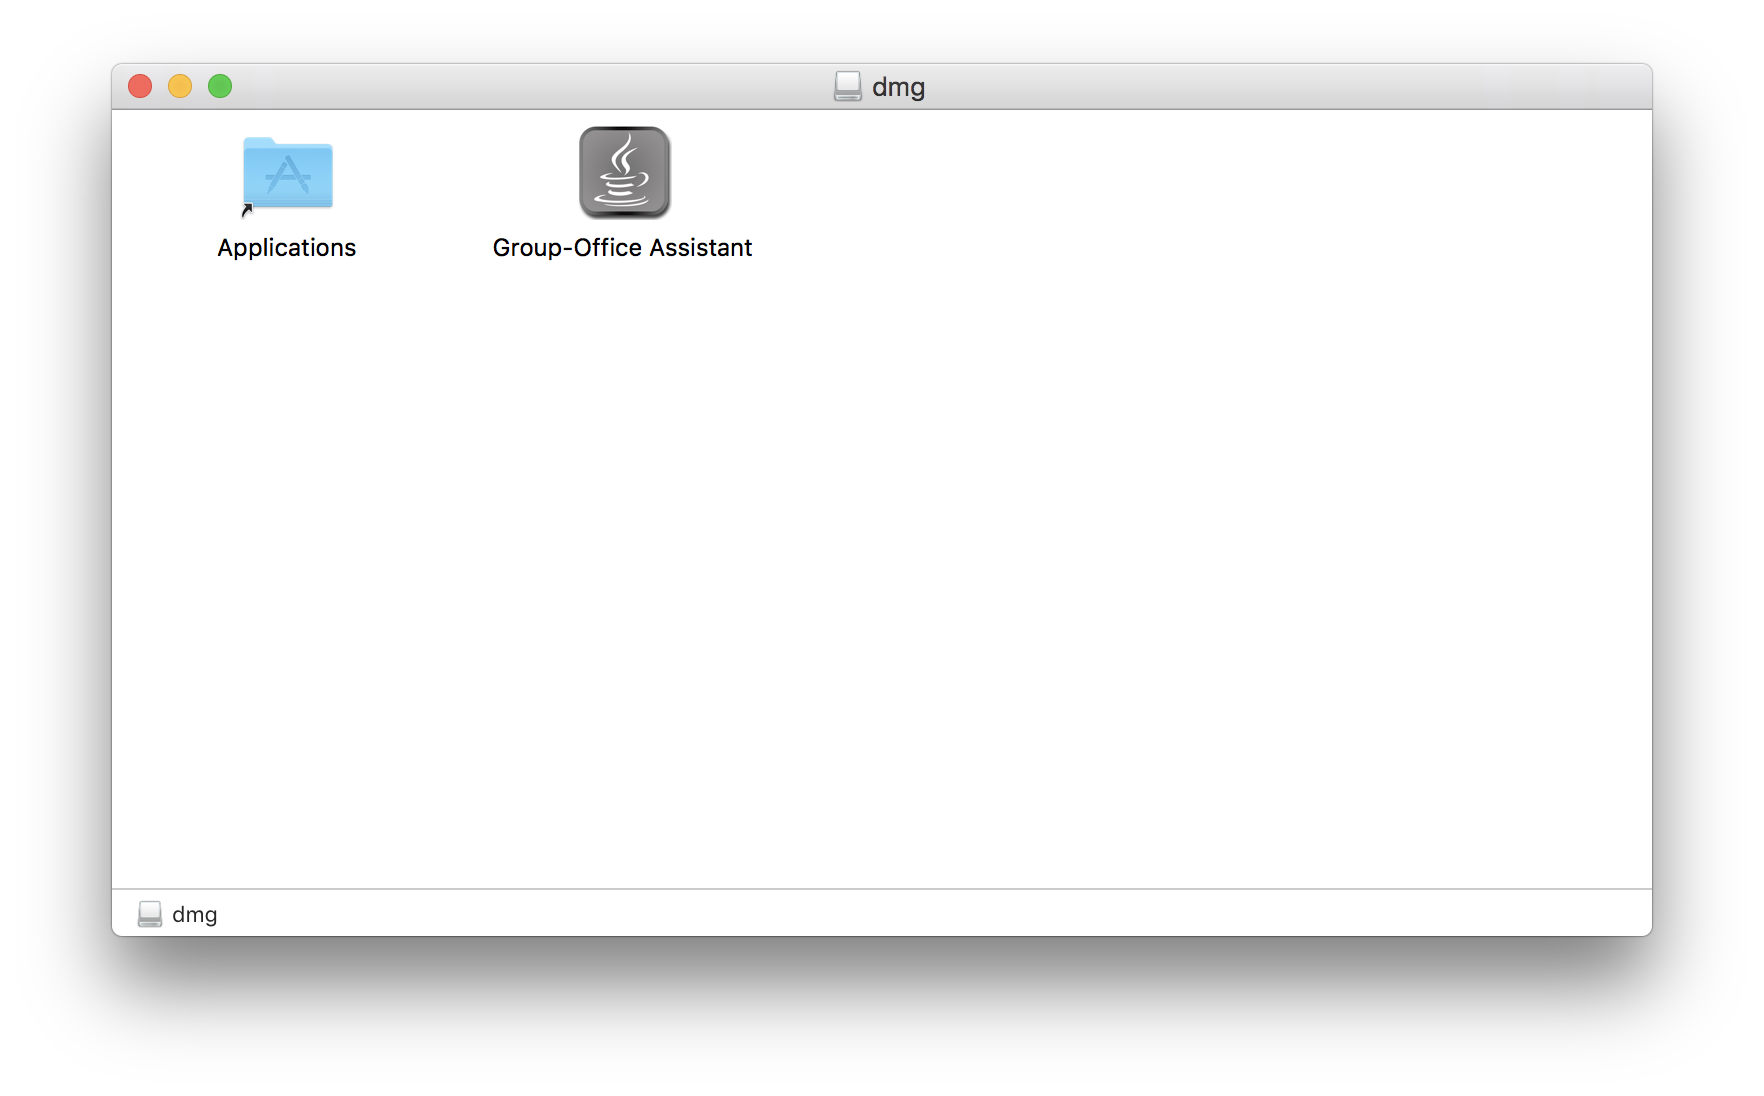
After downloading take the following steps to install:
Open the DMG file and drag “Group-Office Assistant” in the “Applications” folder.
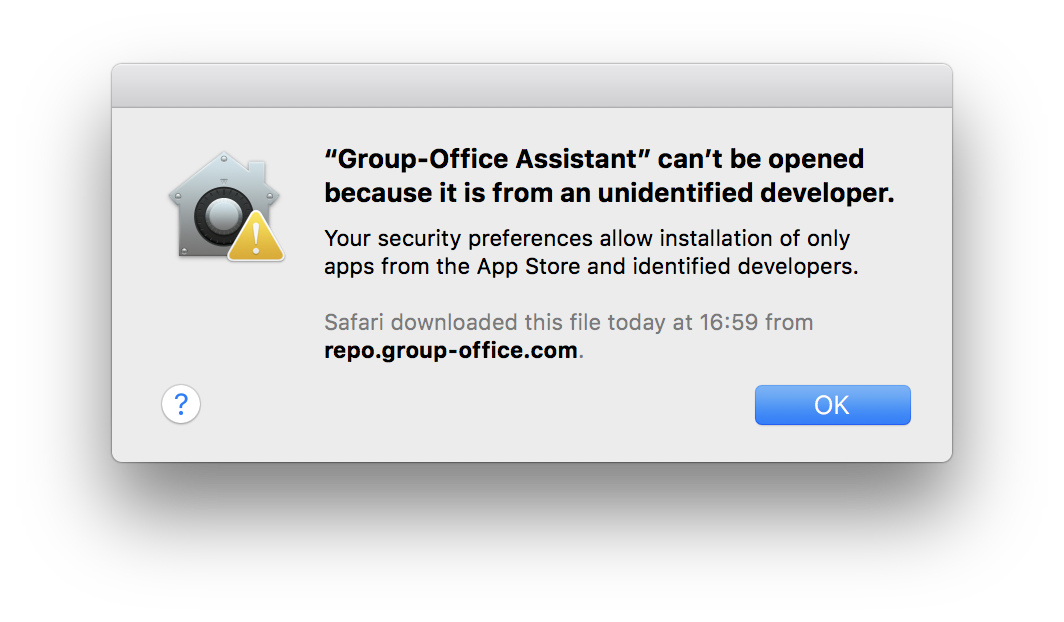
Launch Group-Office Assistant and MacOS will prompt for a security warning.
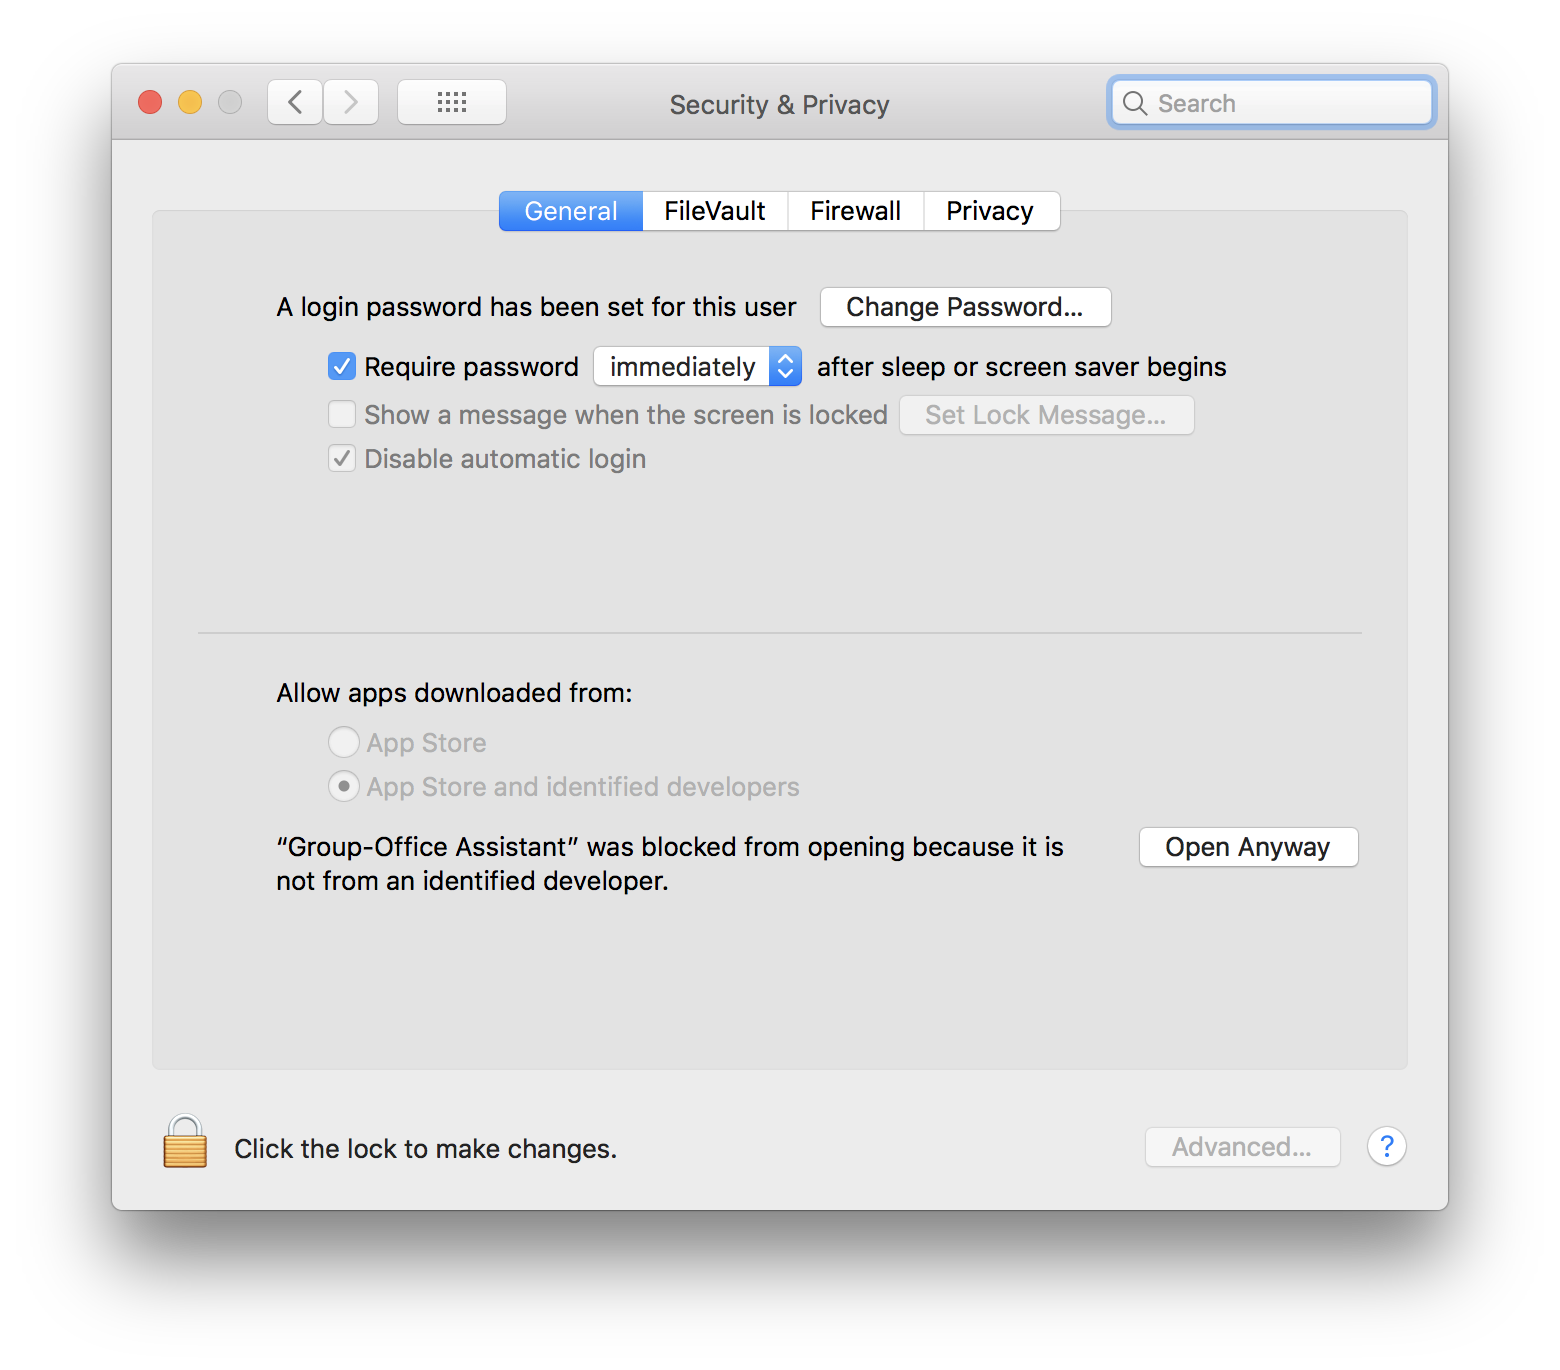
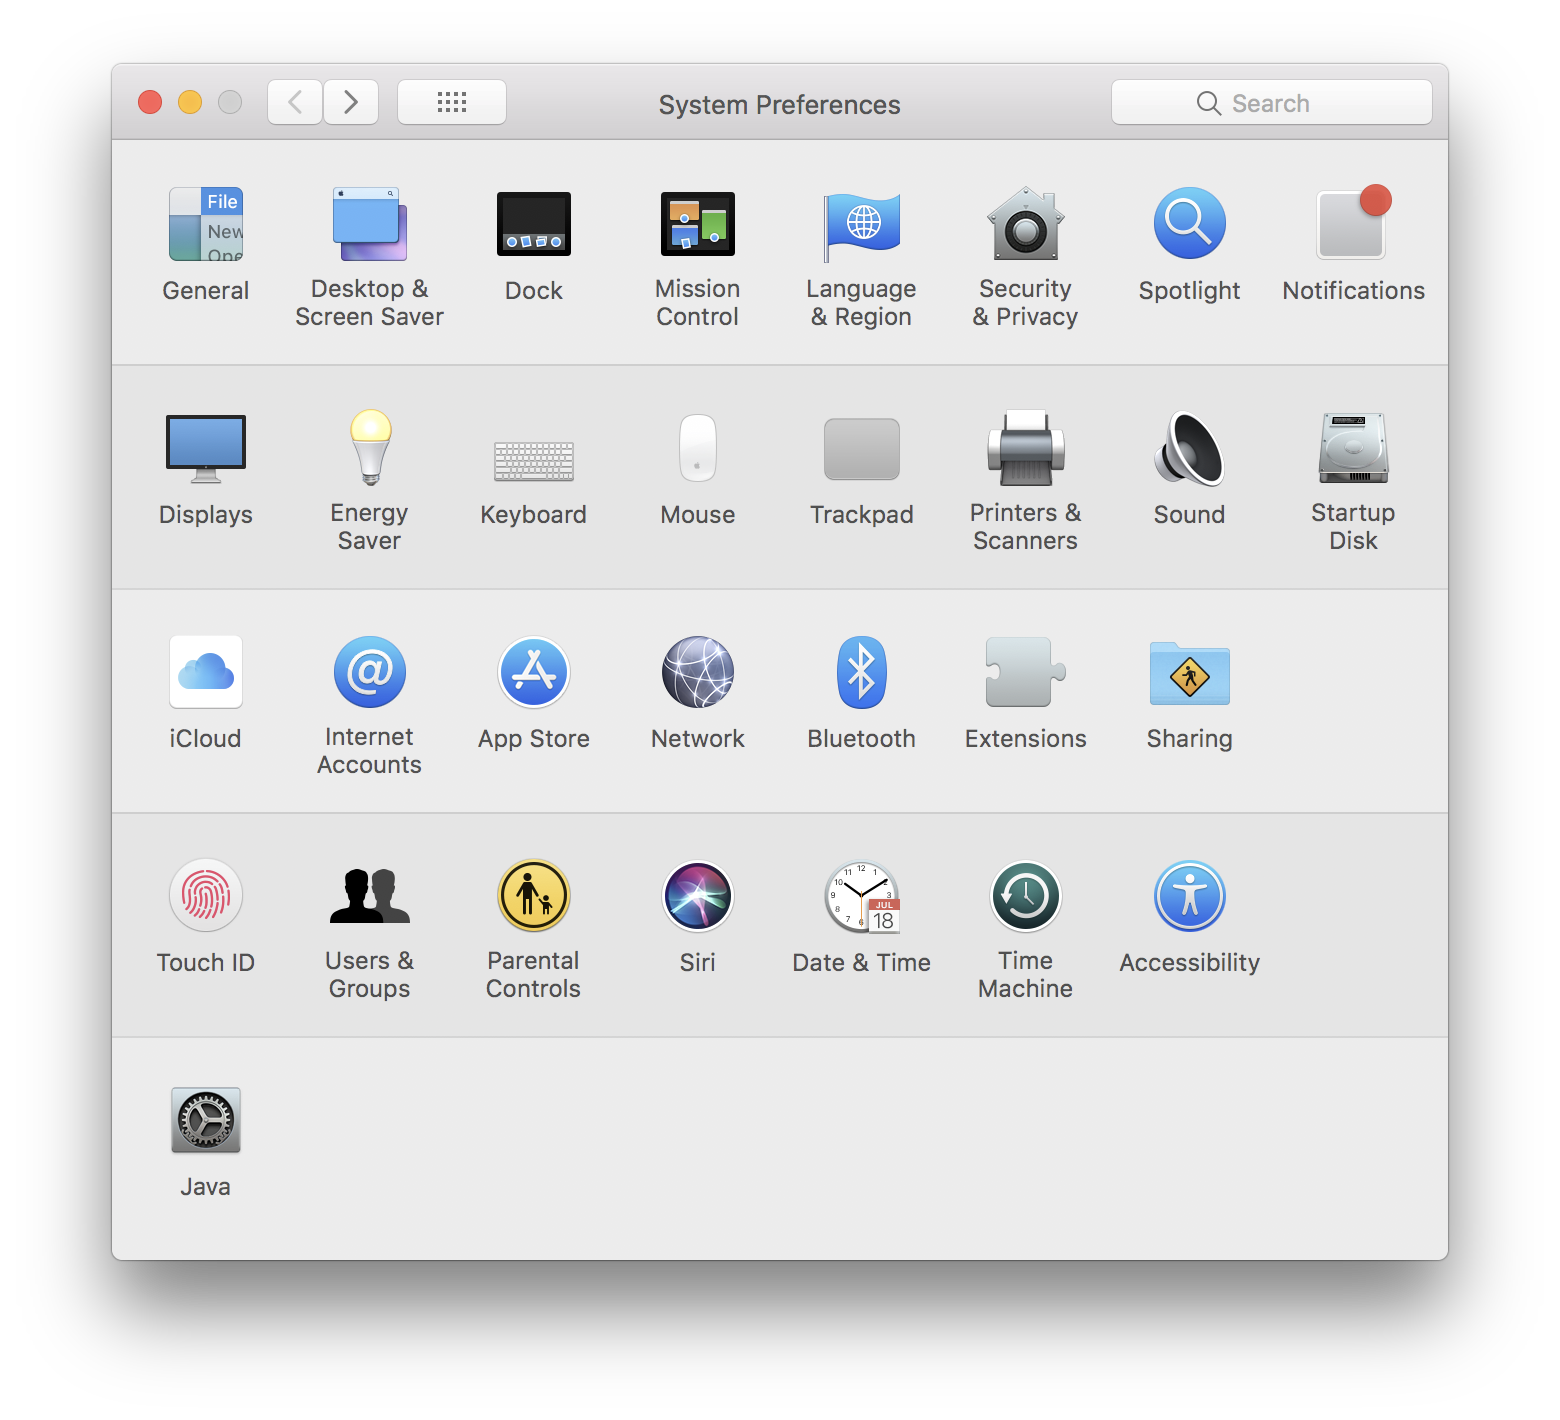
Navigate to System Preferences -> Security and Privacy and click the “Open anyway” button.
Confirm.

In Group-Office right click on a file and choose “Open with”.
Select the “Your desktop application (WebDAV) option to use the assistant.

Calendar & Contacts
Adding contacts and calendar accounts work identically in MacOS. Just choose “CalDAV” for calendars and “CardDAV” for contacts.
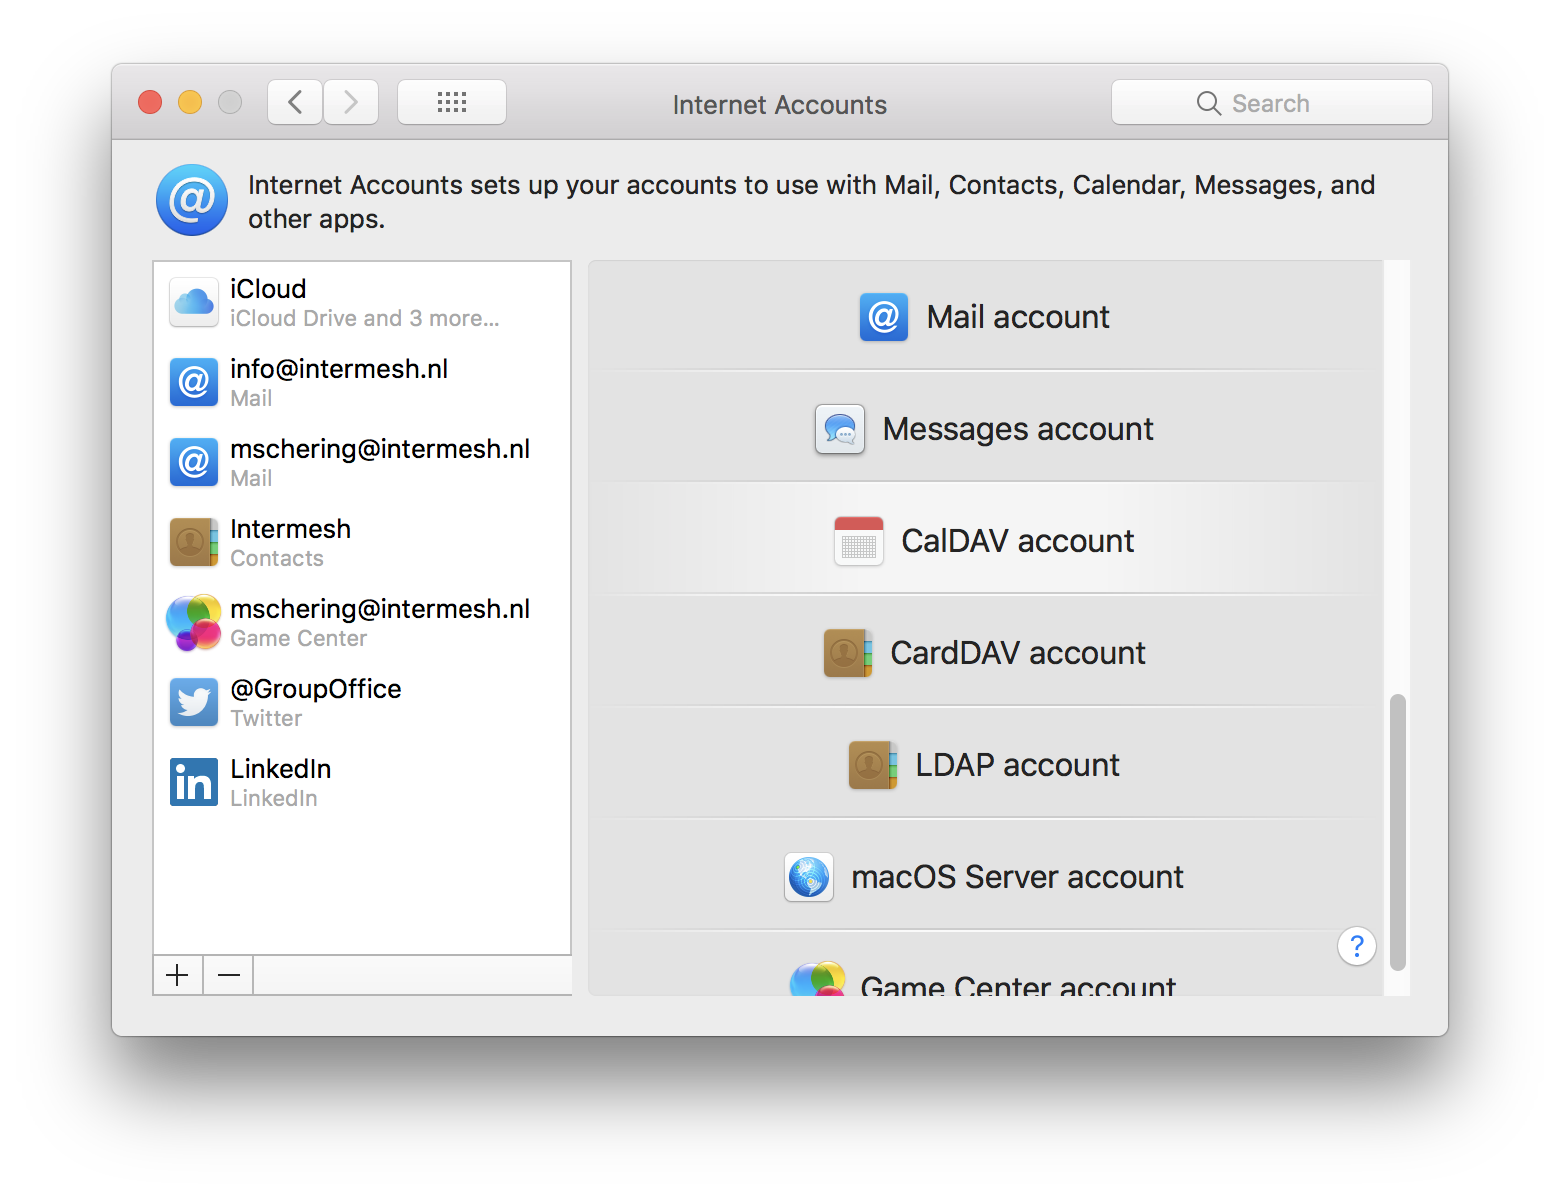
Open System Preferences and click “Internet Accounts”.
Click the “+” button in the bottom left to add an account. Scroll down and choose “Other account”.

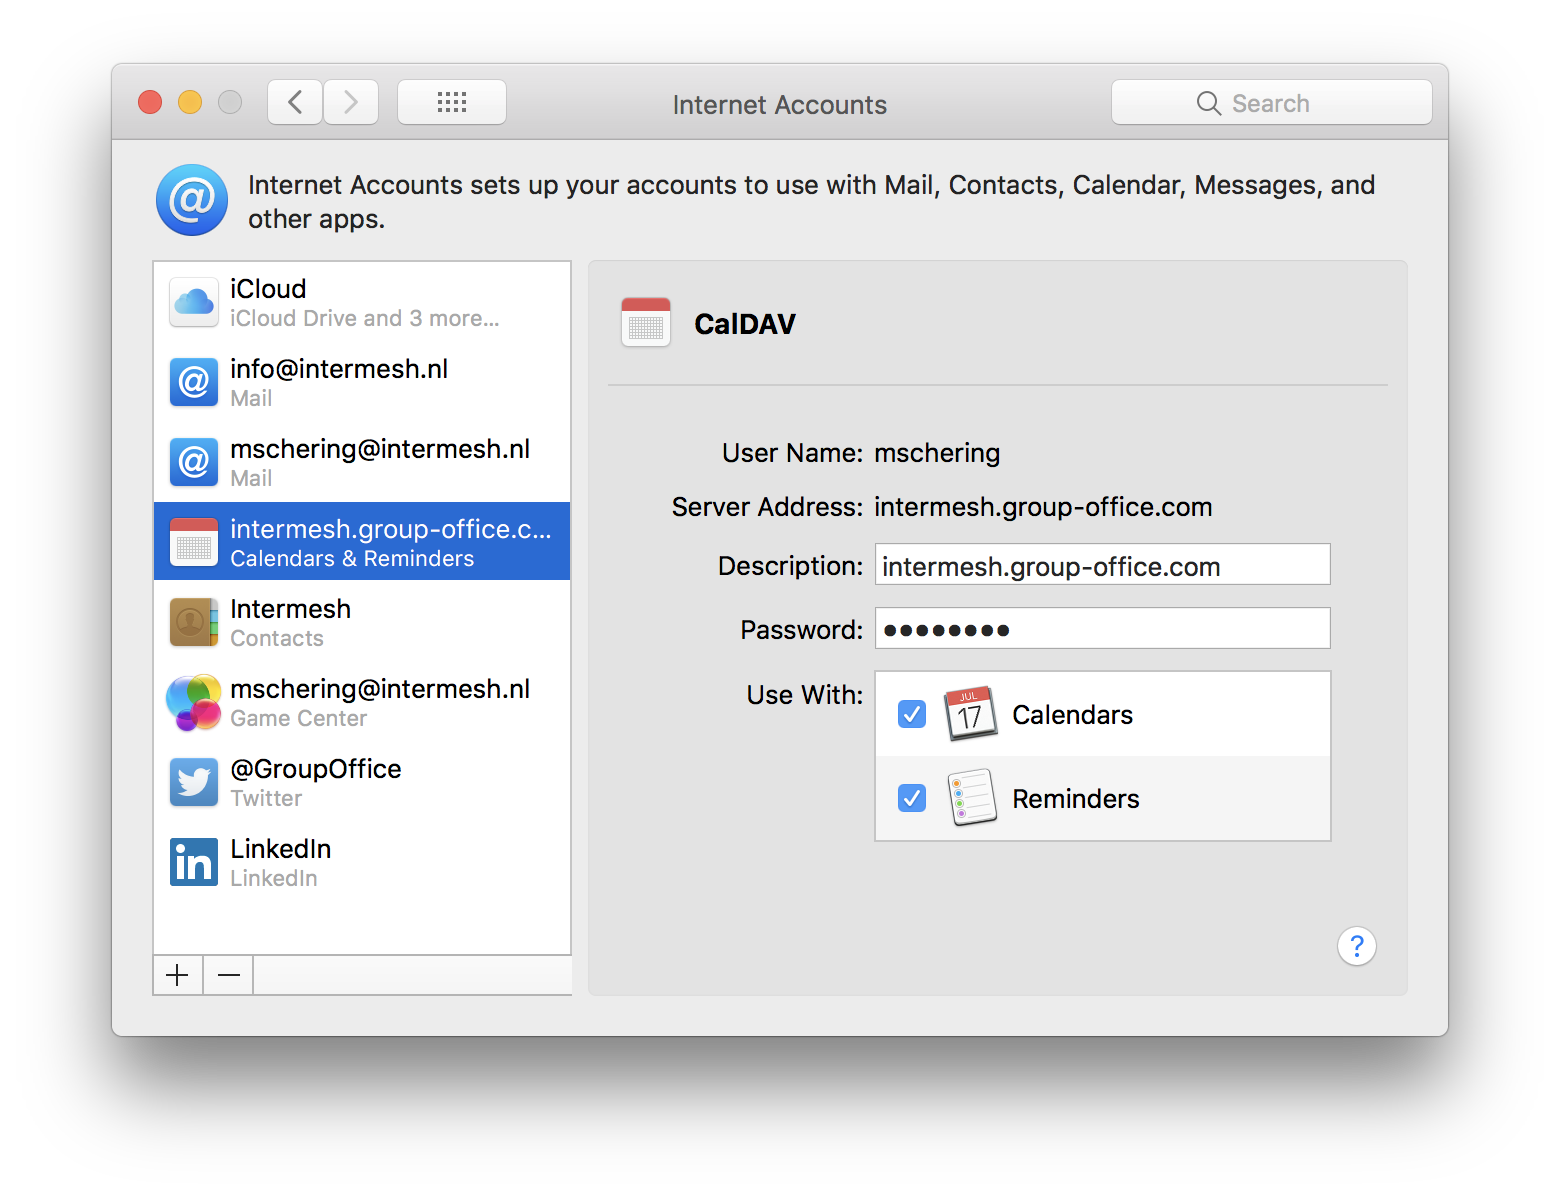
Now choose “CalDAV” for calendars or “CardDAV” for contacts.
Select “Manual” in the “Account Type” dropdown and enter the username, password and Server hostname.

Click “Sign in” to finish and you might be able to select additional data sources in the account settings screen.
Now check your Calendar or Contact app for your Group-Office data!
E-mail
E-mail on MacOS works with IMAP and SMTP. These settings vary between providers so please ask your system administrator for the right IMAP and SMTP settings.
Intermesh uses:
| Username | E-mail address |
| Password | Group-Office password |
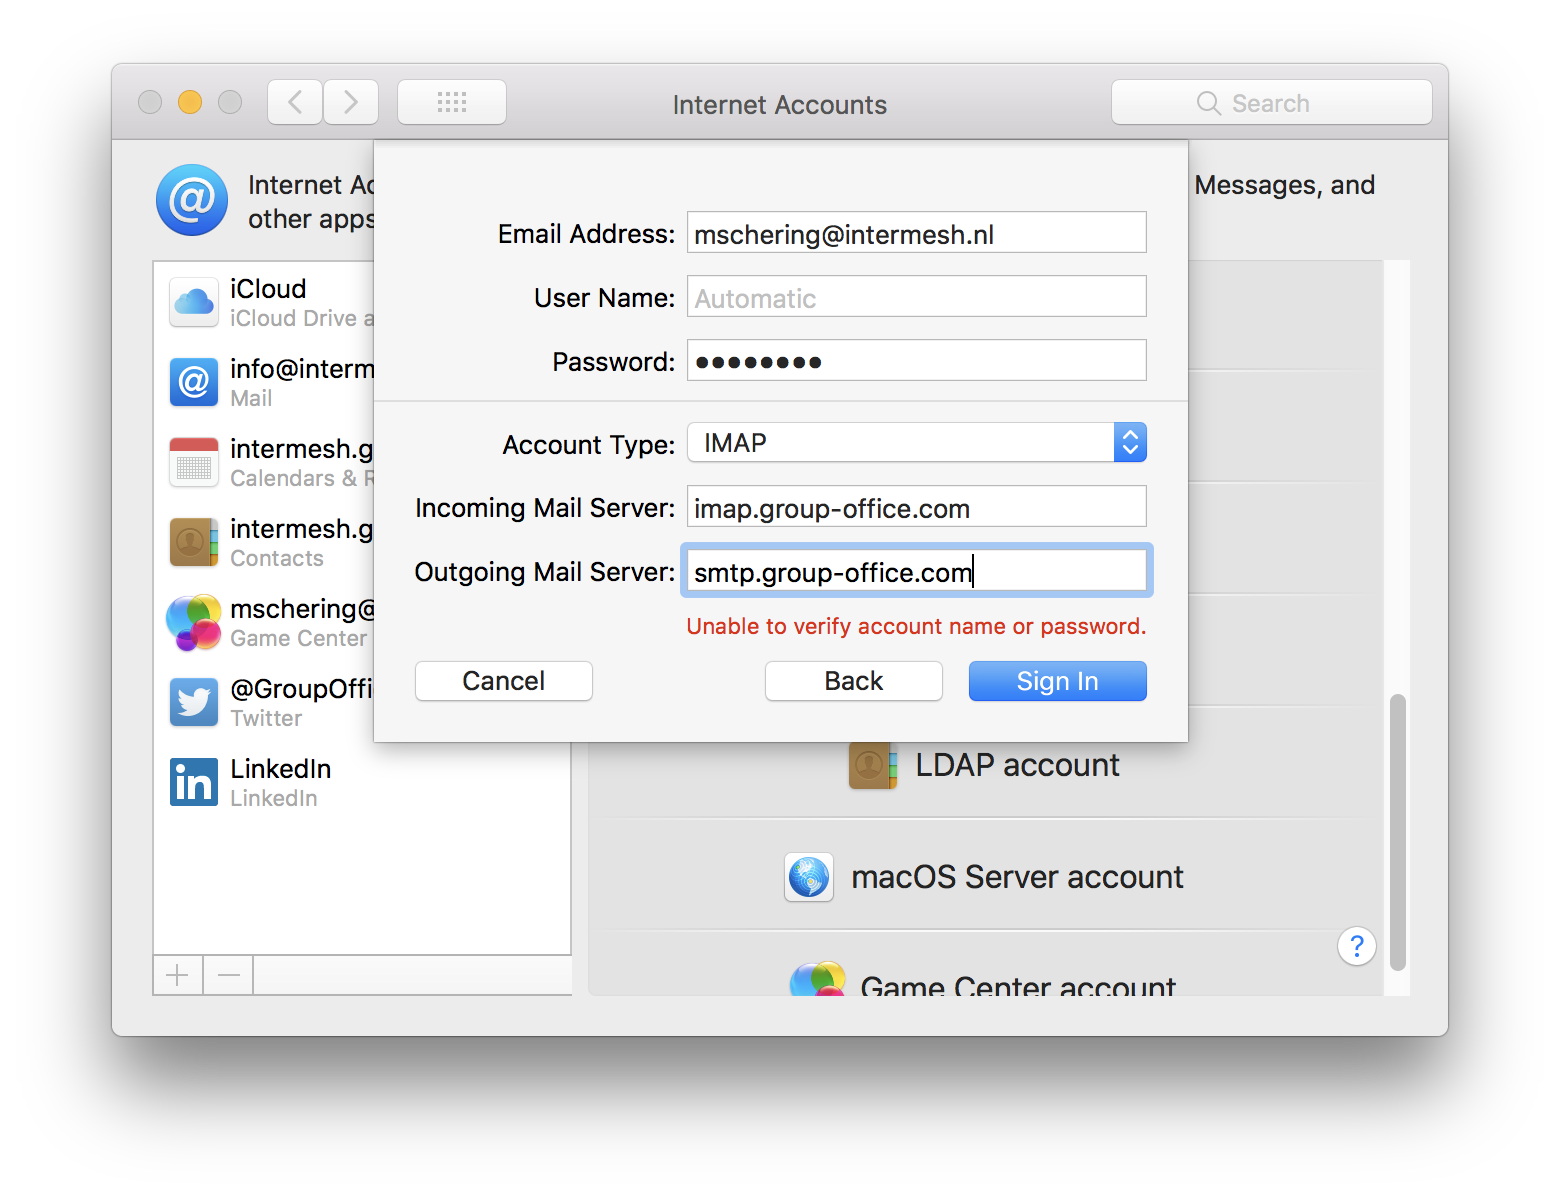
| Incoming mail server (IMAP) | imap.group-office.com on port 143 |
| Outgoing mail server (SMTP) | smtp.group-office.com on port 587 |
| Encryption | TLS Encryption for both servers |
To add a mail account take the following steps:
Open System Preferences and click “Internet Accounts”.
Click the “+” button in the bottom left to add an account. Scroll down and choose “Other account”.
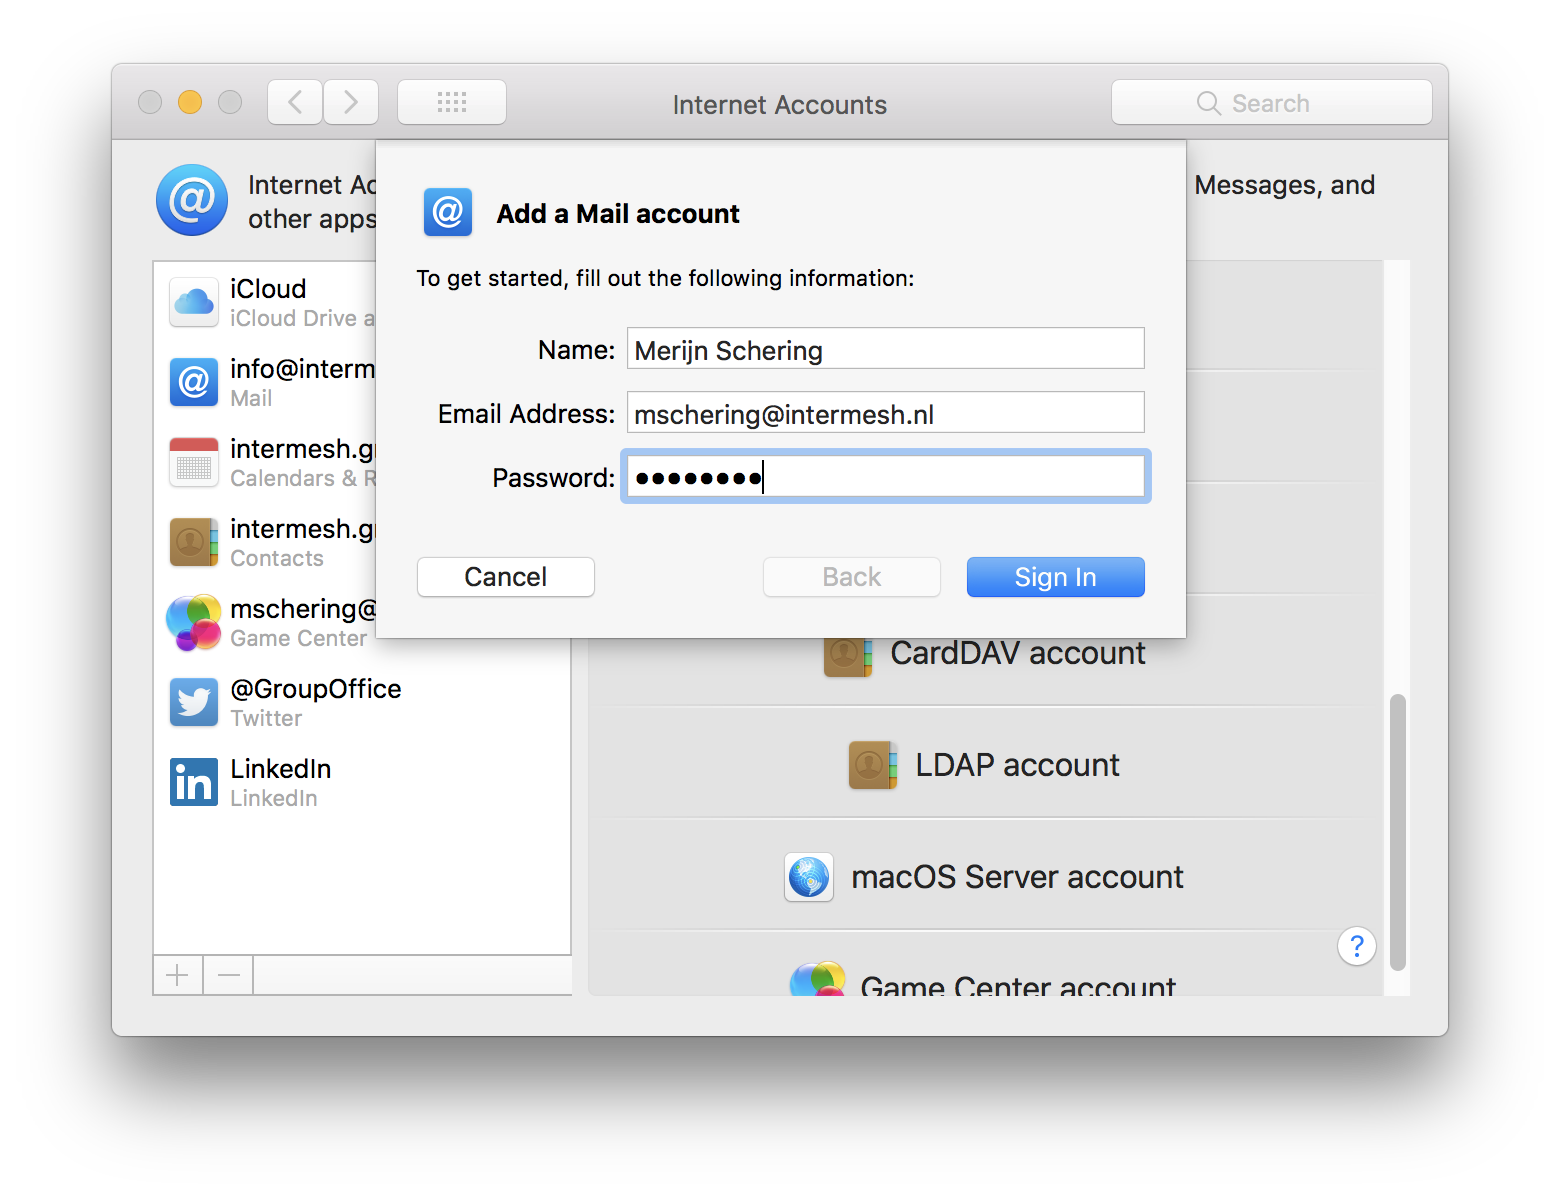
Click on “Mail account”.

Enter your e-mail address and password and click “Sign in”.
If auto discovery fails enter the server addresses and click “Sign in”.
Select the apps you’d like to synchronize and click “Done”.

Check your mail!