Users
When clicking users you will see a list of all Group-Office users. Via the “more” menu in the record you can:
- Edit the user
- Login as this user
- Delete the user
Note
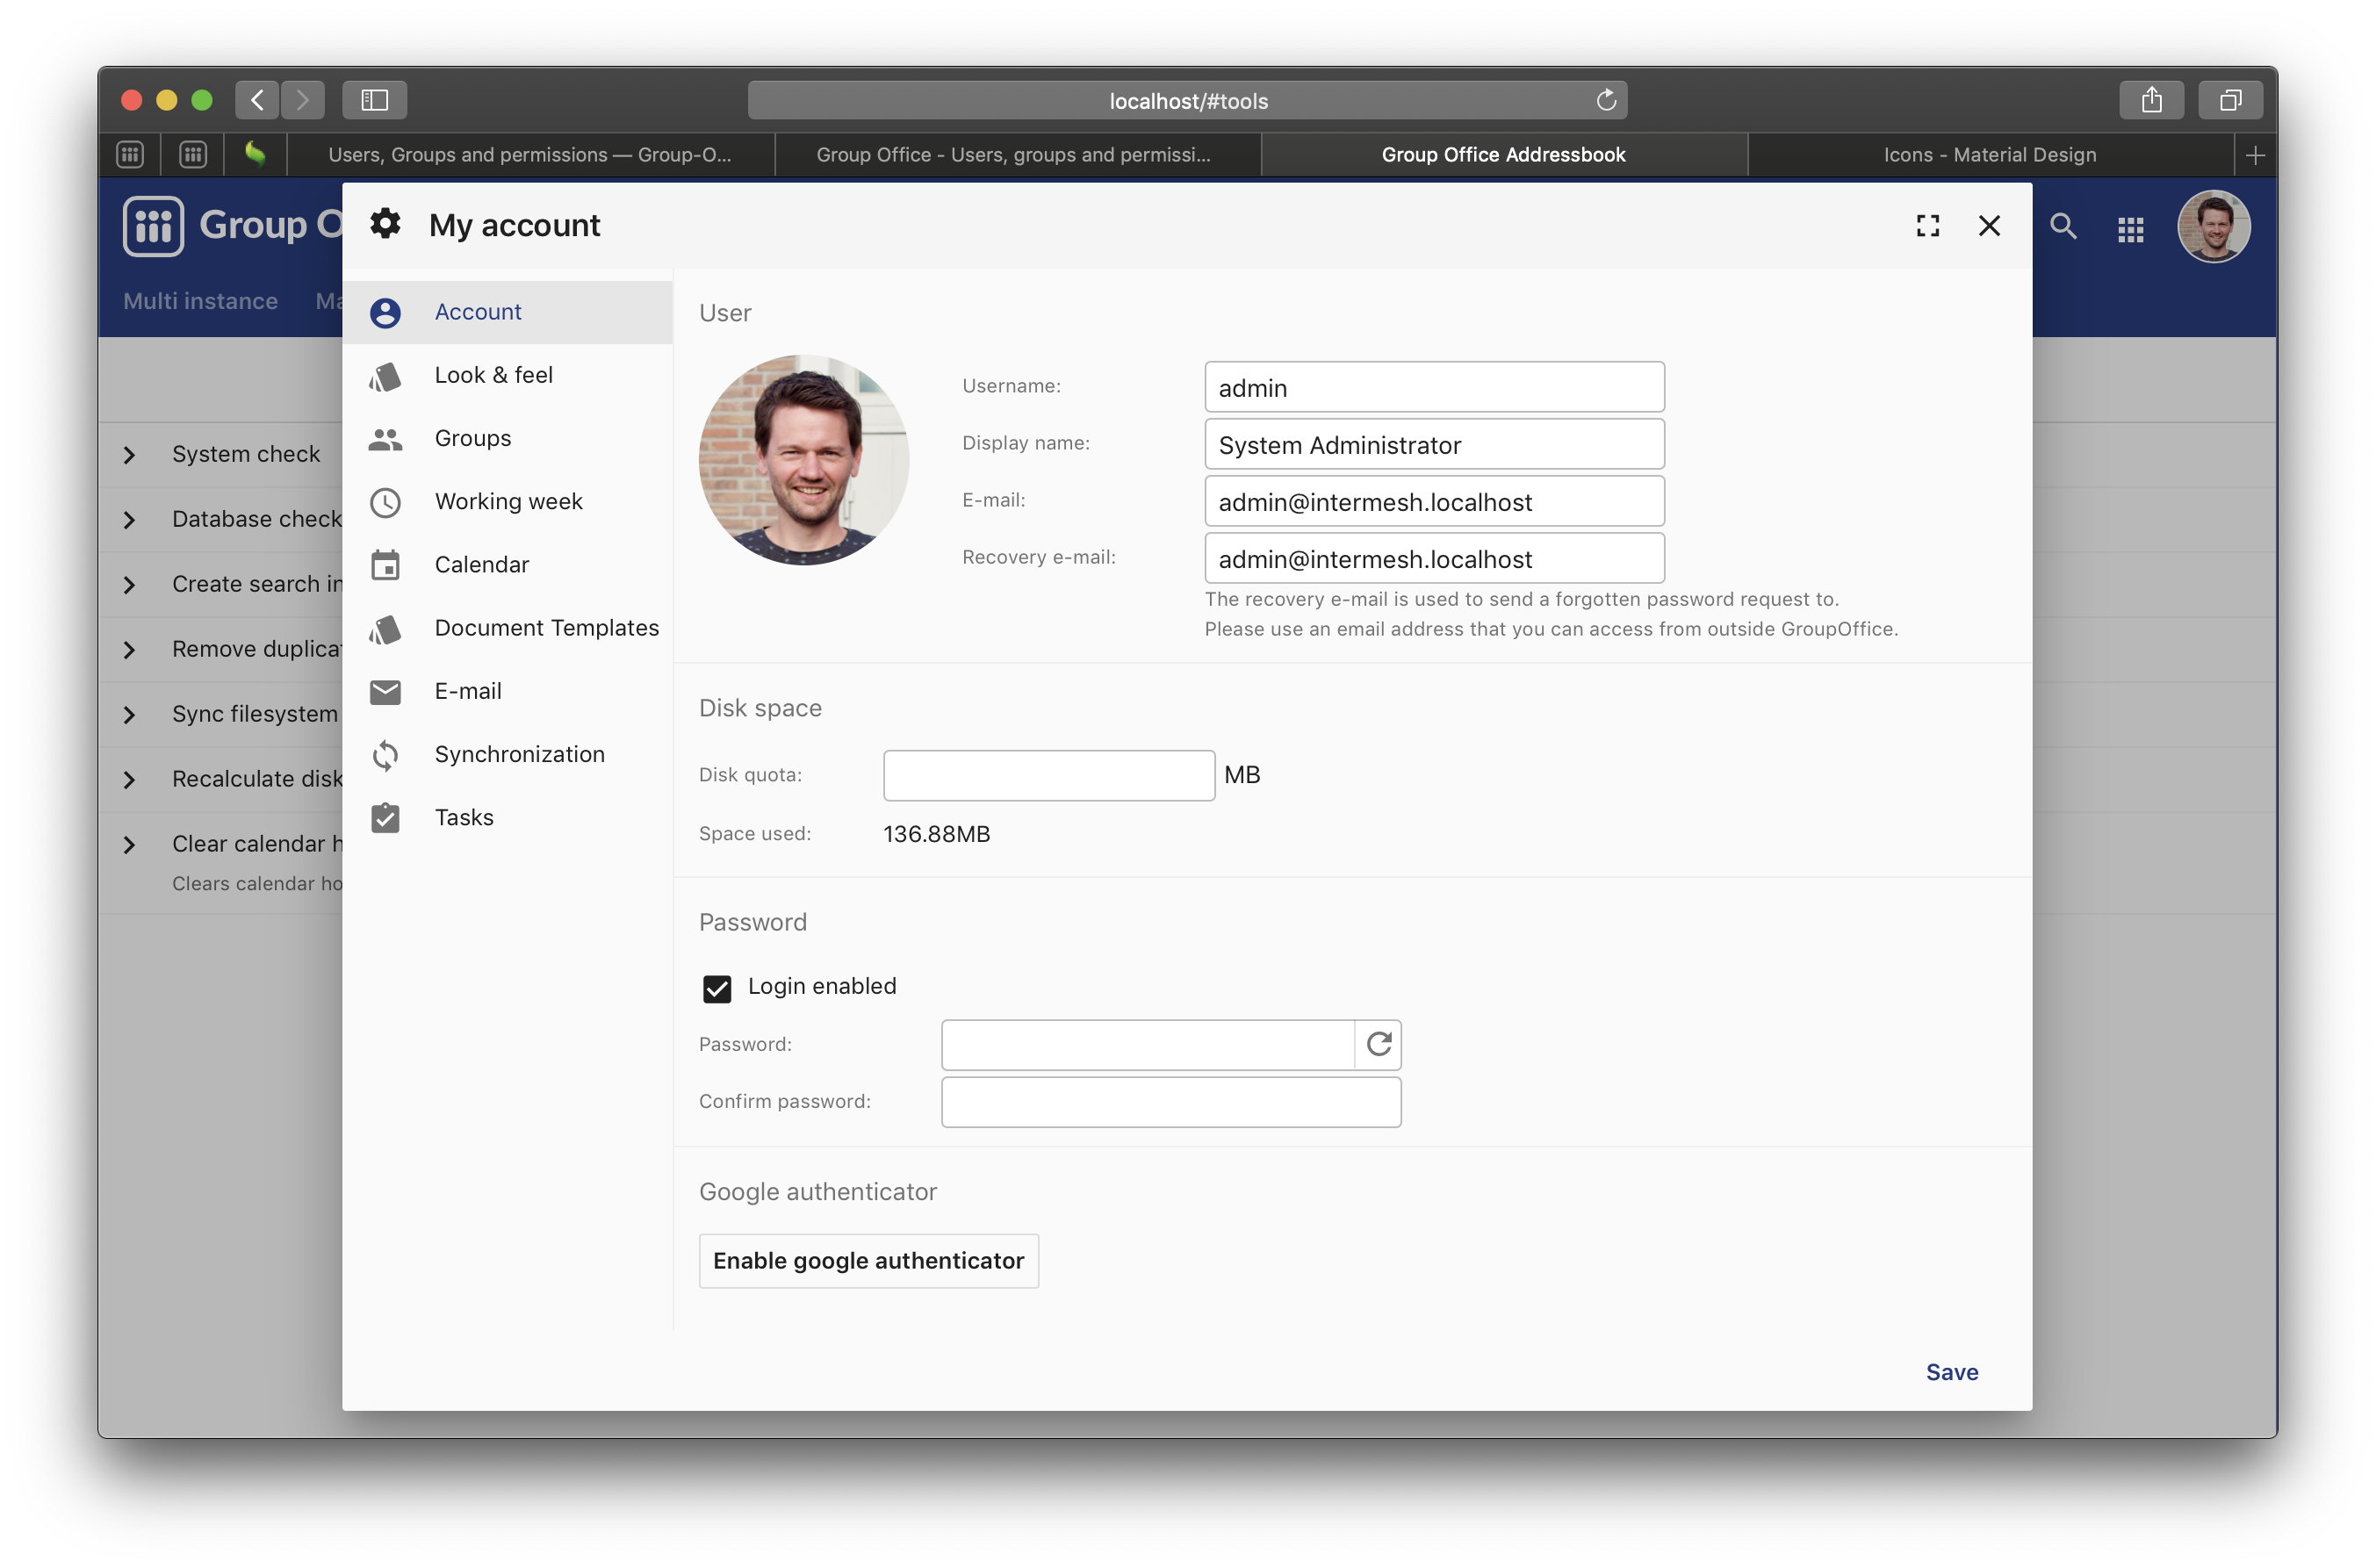
Instead of deleting users you can also disable them. This will keep all data and references to the user but the user can’t login or used for new items. To deactivate a user you must “Edit” it and toggle “Login enabled” on the account page.
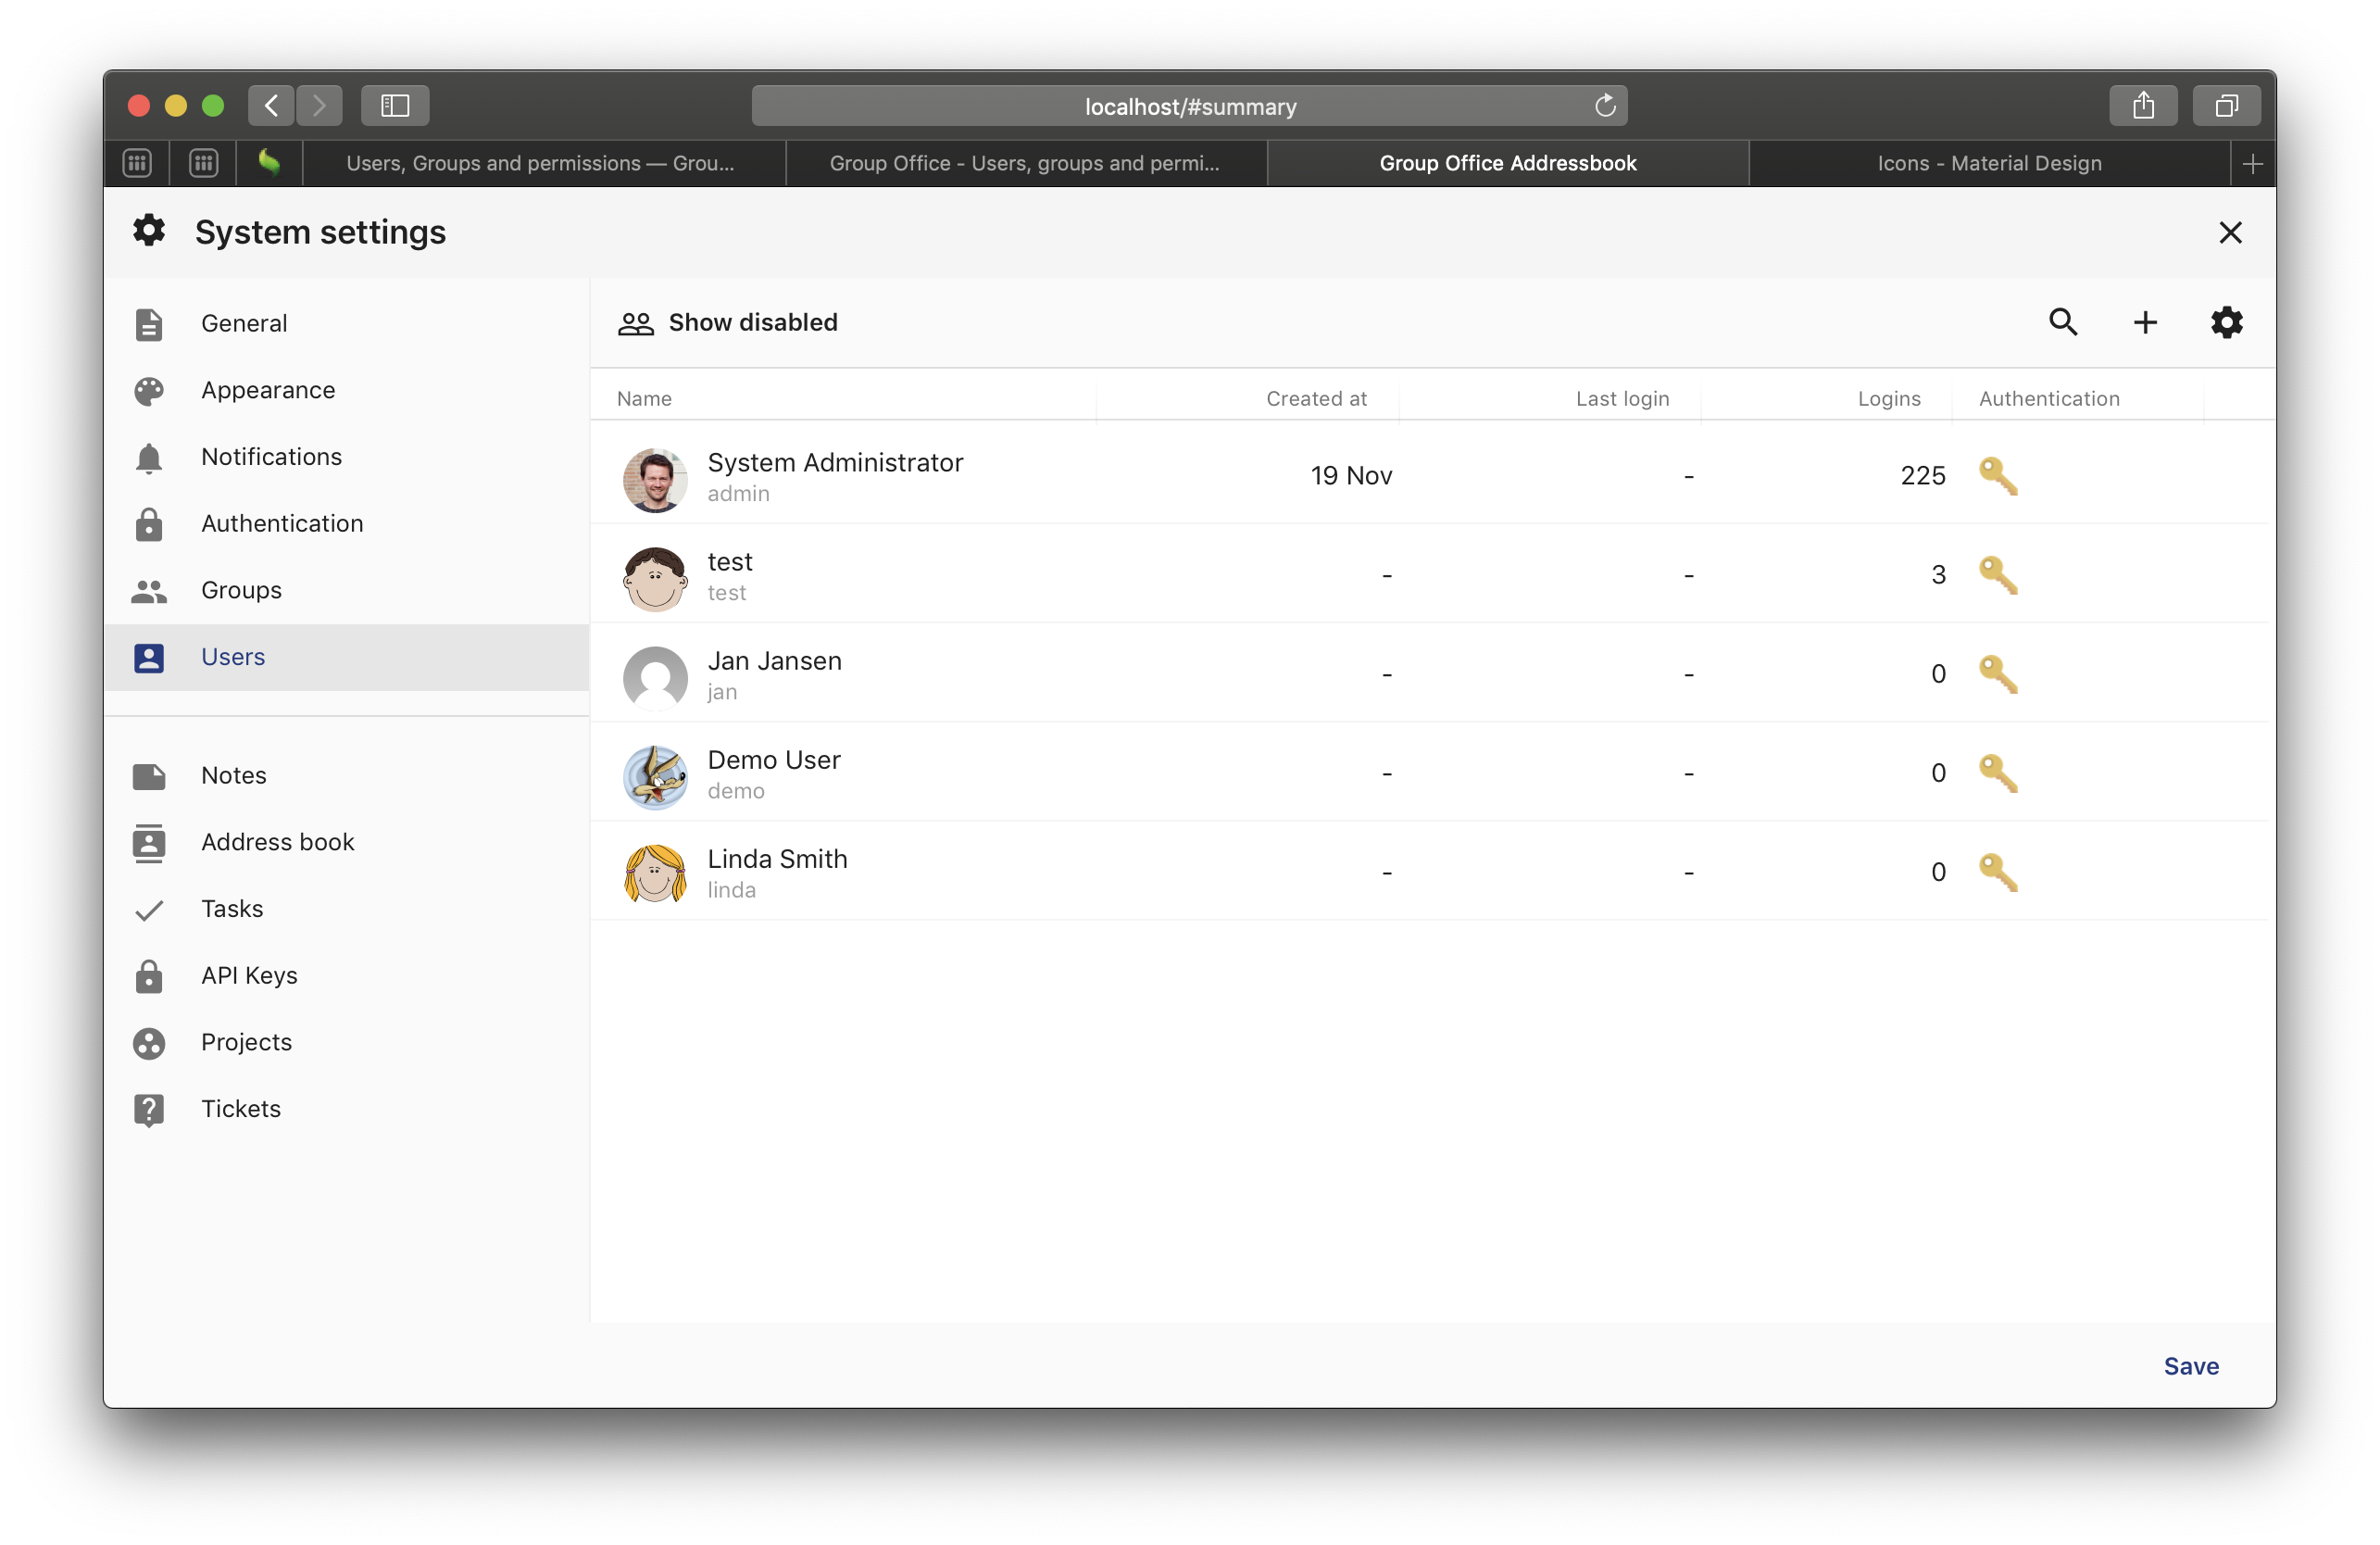
User list
User defaults and custom fields
Before adding any user. Check the ‘User settings’ to avoid unnecessary changes to user settings after creating them.
Click the settings icon to change default values and manage custom fields.
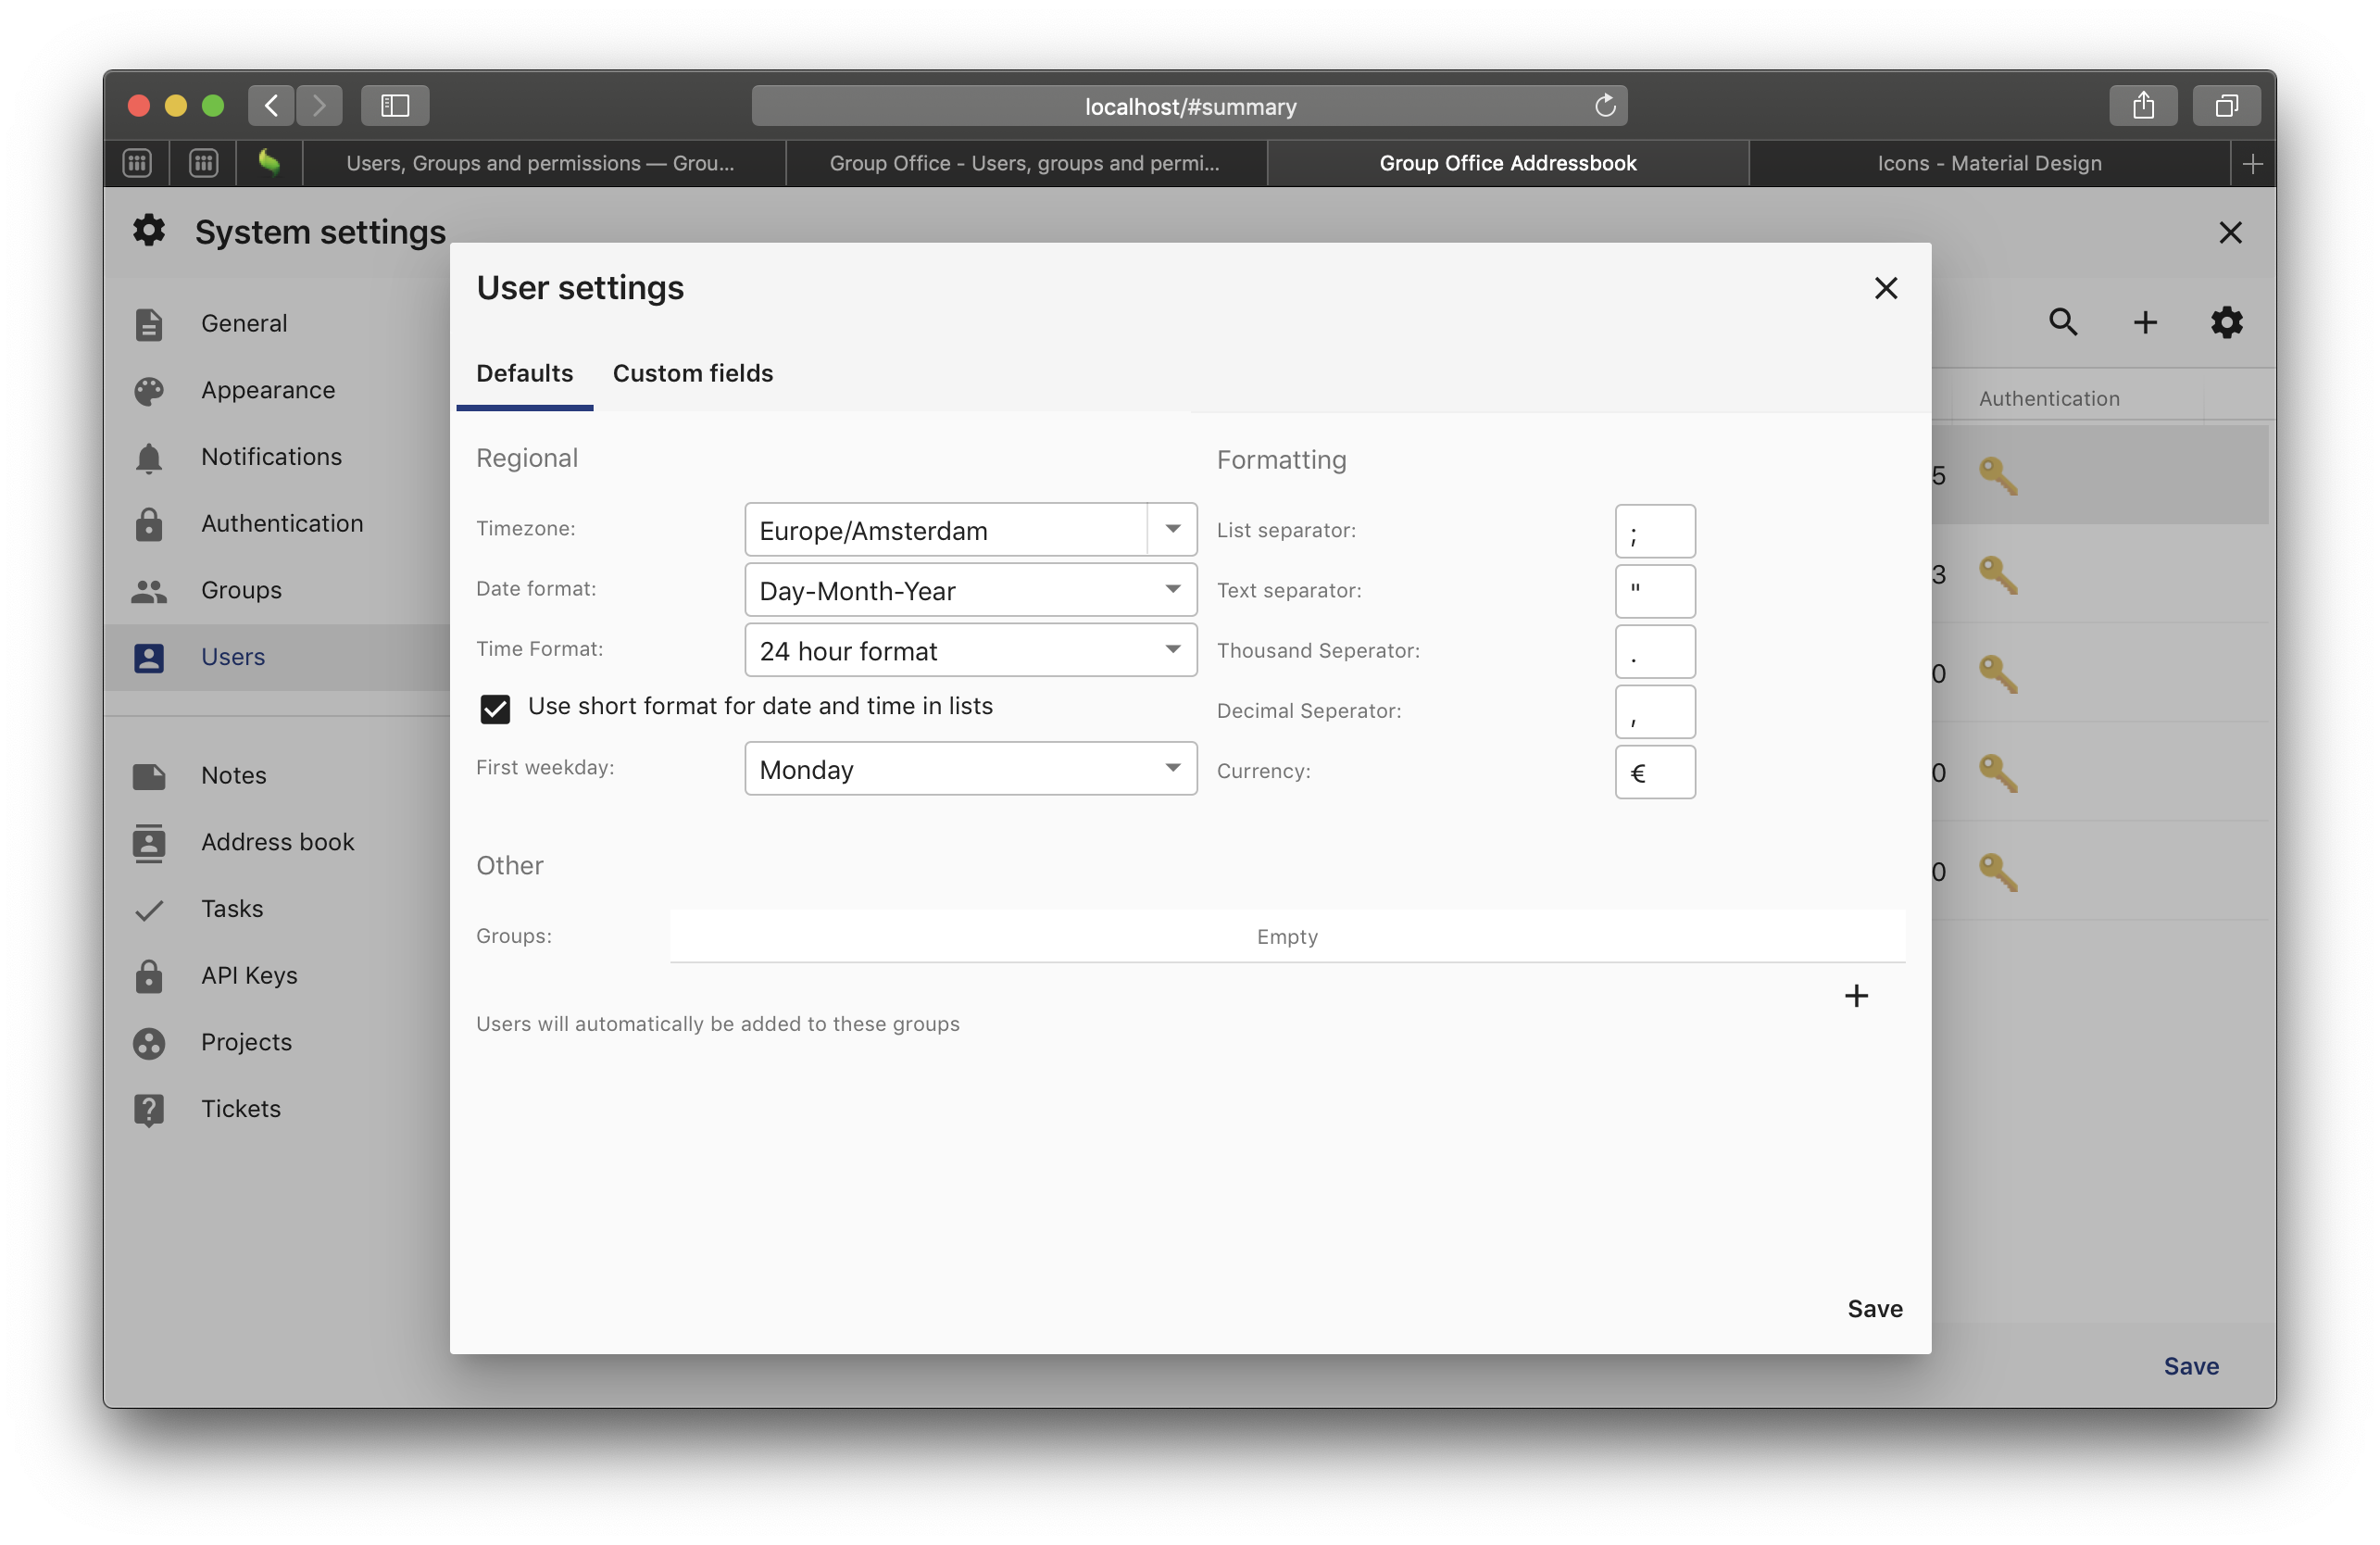
User settings
Adding a user
Note
Before adding users make sure you’ve setup User groups with the right module access. So setting up the user permissions is a simple matter of adding it to the right user group.
To add a user click the plus icon. A short wizard opens with three steps.

Create step 1
Supply the username, display name and e-mail address.
- Username is case insensitive.
- Display name is used in Group-Office
- Provide an account e-mail address.
- Because often Group-Office is used as primary e-mail service you must provide a secondary e-mail address for e-mail recovery. If not available just use your primary e-mail.
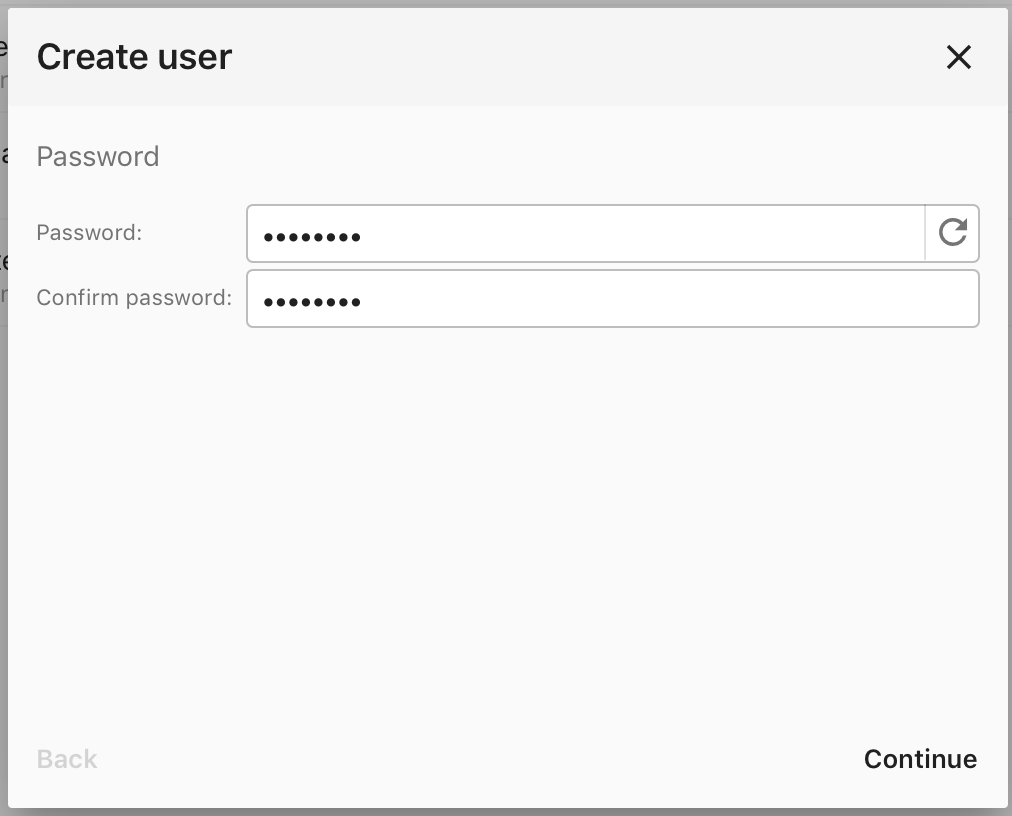
Create step 2
Provide a password. You can also use the button in the first field top generate a strong password.
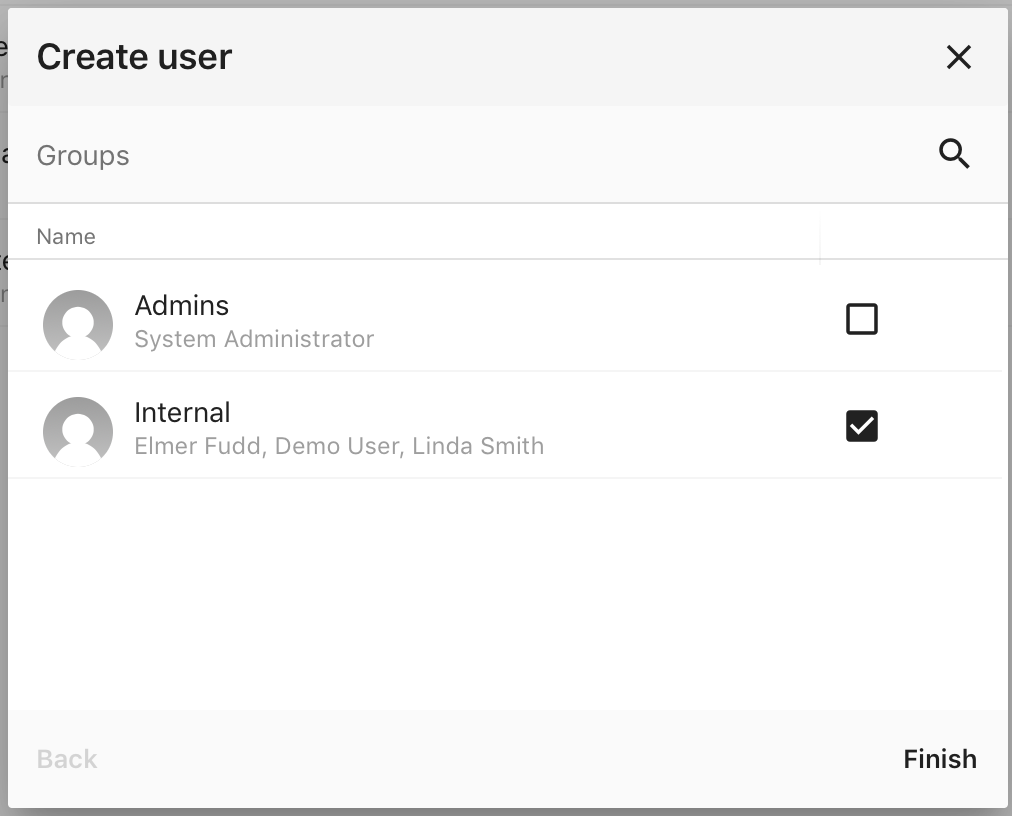
Create step 3
Finally, add the user to the right User groups andf click ‘Finish’.
Edit user
To edit a user double click or use the more menu. The edit dialog is identical to the ‘Account settings’ page but adds some administrative features:
- Group management
- Disable / enable login
- Set disk quota
Disk quota
If you leave this blank then users can use an unlimited amount of storage. If set then the user will be limited to this amount of disk space.
Disk quota applies to all files in the user’s home folder of the files module. Other locations such as projects and address book folders are owned by the “admin” user.
Edit user